Showing posts with label Calibration Cricut Explore Air2. Show all posts

Tuesday, February 28, 2017

Cricut Explore Air 2: Cutting from link cartridges ( Step by Step)

Before cutting images from Cricut cartridges you will need to link the said cartridges from the account section on the top left hand. Select link cartridges and follow the instructions to link your design cartridges. (One cartridges only for one Cricut ID)
Link Cartridges tab
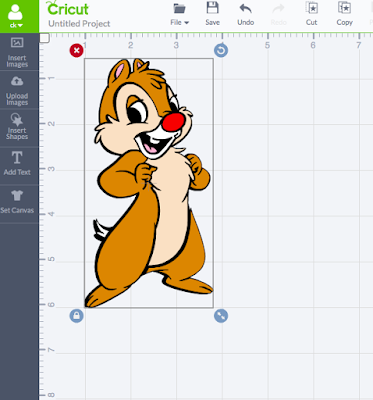
To start a new project select File - New - Click Insert Images- Click Purchase
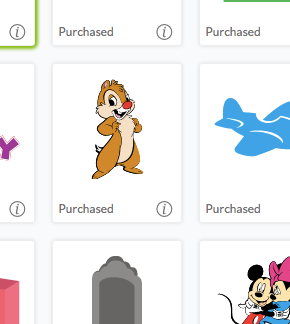
Selected images Chipmunk
Resize as desired
Follow by pressing "GO" and layer the colors paper as the screen prompt on screen.
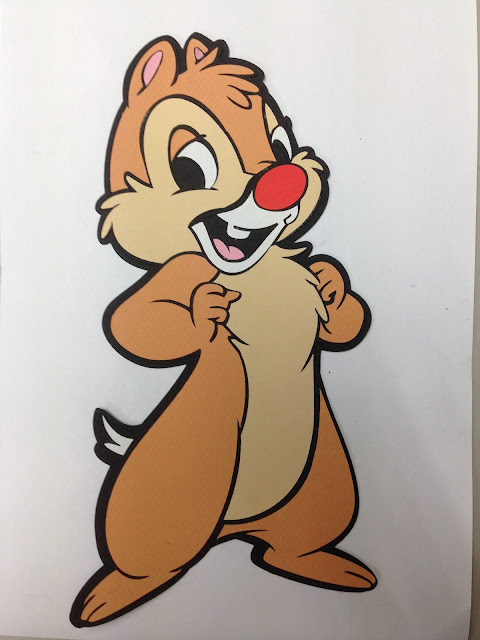
The actual cut-outs after glued all the parts
Cartridges from Mickey & Friends

Thursday, February 23, 2017

Cricut Explore Air 2: Calibration Process(Video)

First step scanning crop marks

Test cutting inner square after 1st calibration process


Calibration Vertical and Horizontal lines and final process of cutting the outer box.
Test Cut Report

Result from 1st cutting small box on calibration process no.1

Cutting of horizontal lines and vertical lines 

Calibration Cut lines on the printed lines

Final cut of the larger box to complete the calibration process